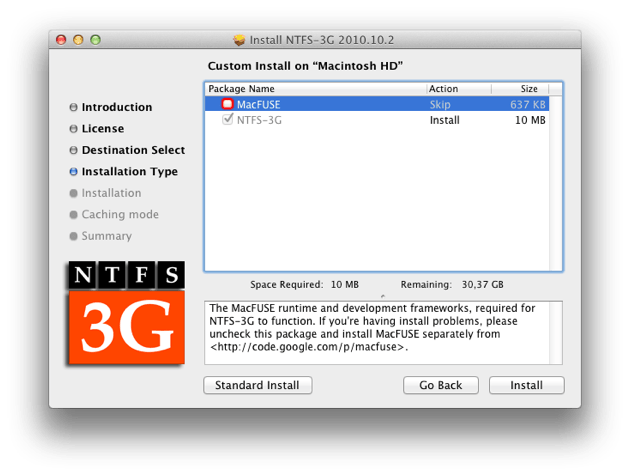
On Mac OS, by default, the NTFS driver can only read data from an external hard drive or Pen Drive.
If you have used Windows, you are probably used to the NTFS file system and store a large amount of data in it. Let’s see how to enable NTFS writing in Mac OS Mojave to avoid compatibility issues.
In our solution, we will use three software packages to enable the NTFS driver for macOS Sierra or Mojave. Here’s a step-by-step process for enabling NTFS driver on Mac OS. Open a terminal on your Mac and follow the commands.
Step 1
Install Brew on your Mac. (This is a package manager on Mac OS).
/ usr / bin / ruby -e “$ (curl -fsSL https://raw.githubusercontent.com/Homebrew/install/master/install)”
Step 2
Install FUSE for macOS. (These are the advanced features of macOS for working with files through third-party file systems).
brew cask install osxfuse

Step 3
Install NTFS 3G for MasOS. (NTFS-3G is a cross-platform open source implementation of the NTFS file system with read / write support.)
brew install ntfs-3g
Next, it remains to configure the driver.
Step 4
So restart your Mac and hold Ctrl + R while it boots. You will get a recovery console window. From the top menu go to Utilities and select Terminal.
In a terminal, type the following command:
csrutil disable
After completing it, you will receive a successful message. Now restart your Mac and open Terminal again.
Step 5
Enter further to activate the NTFS driver.
sudo mv / sbin / mount_ntfs /sbin/mount_ntfs.original sudo ln -s / usr / local / sbin / mount_ntfs / sbin / mount_ntfs
Your original NTFS driver has now been renamed to .original and the new driver has been activated.
Step 6
You need to re-enable System Integrity Protection, so restart your Mac and hold Ctrl + R while it boots. You will get a recovery console window. From the top menu go to Utilities and select Terminal.
In a terminal, type the following command:
csrutil enable
You will then receive a successful message. Now restart your Mac and open Terminal again.
Step 7
Your macOS is ready for the NTFS file system. Connect the NTFS drive to your Macbook and allow OSX FUSE when asked for permission. Unplug the device and plug it back in. Your device will be ready to read/write files. Enjoy NTFS.
Note: there are also alternative solutions, for example, using the free Tuxera NTFS-3G driver or the paid Paragon NTFS.


