Many of us love to use beautiful and custom fonts. How do I add them to Mac OS?
First, if you don’t already have a suitable font, you need to find one online first. The ideal search option for officially free fonts, without the possibility of catching a virus, is the Google Fonts service. There you can find a font by different parameters: language, type and immediately see how the text written in the selected font will look like.
The Mac font file must have a .ttf extension, but if you upload something as an archive, for example, .rar or .zip, that’s fine too – there can be many such fonts at once.
So, in one way or another, we get several .ttf files. How do I install them now? Just open the font using a double click.
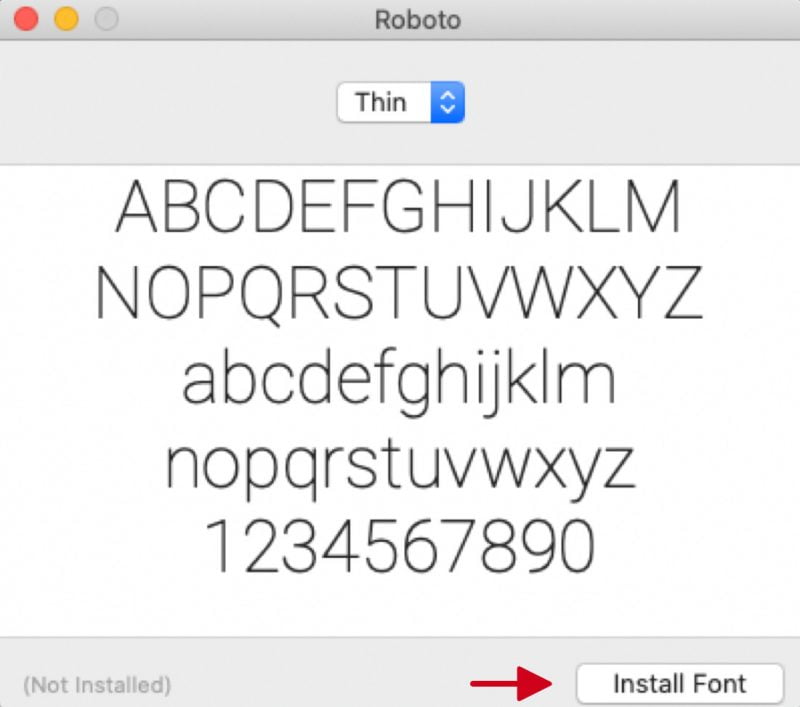
A window like this will open.

Click Install Font and wait a couple of seconds for the font to be successfully added to the Mac OS system.
It remains only to check that everything worked out. To do this, open any software that uses various fonts. It can be not only a text editor, but some kind of graphic editor or other software. Of the common programs, fonts, for example, are actively used in Abobe Photoshop.
We open the program, there we use any of the possibilities that open the list of fonts and/or make it possible to change the font. Found a new font there? Great, so everything is in order!
A few comments. First, if for some reason the automatic font installation does not work, try installing the special Font Book program and activating fonts with it. But in the vast majority of cases, this is not required.
Secondly, if the font seems to have loaded, turned out to be a .ttf file, installed by clicking on the button, but did not appear in any menu, try restarting the computer and check again.
If something remains unclear, you can watch a useful thematic video:
Have a nice work!


